Roughen the nail surface with the nail file included in the package. Clean the nails from dust, either with water or nail polish remover. Be sure to wait until the nail surface is completely dry.
If possible, avoid creams, oils, and other moisturizing products for at least an hour before application.
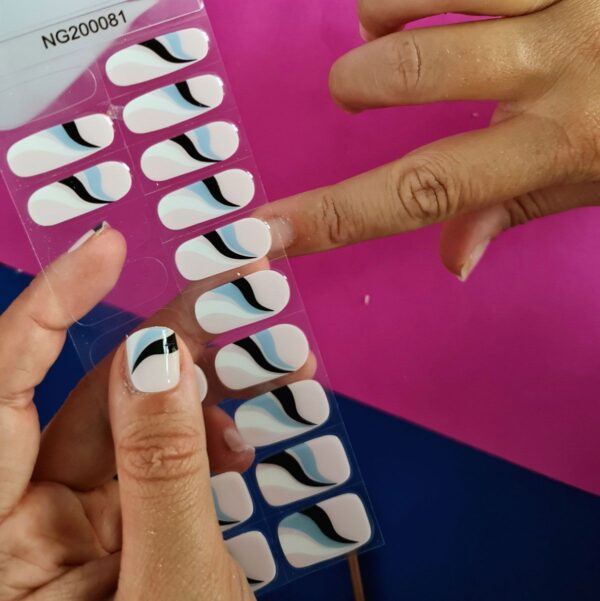
2. Choose the most suitable size gel polish sticker
Choose the right size sticker. Remove the top protective film from the sticker and then remove the gel polish sticker from the base.
If in doubt between two sizes, always choose the smaller one. It is important that the sticker adheres only to the nail and not to the cuticles.
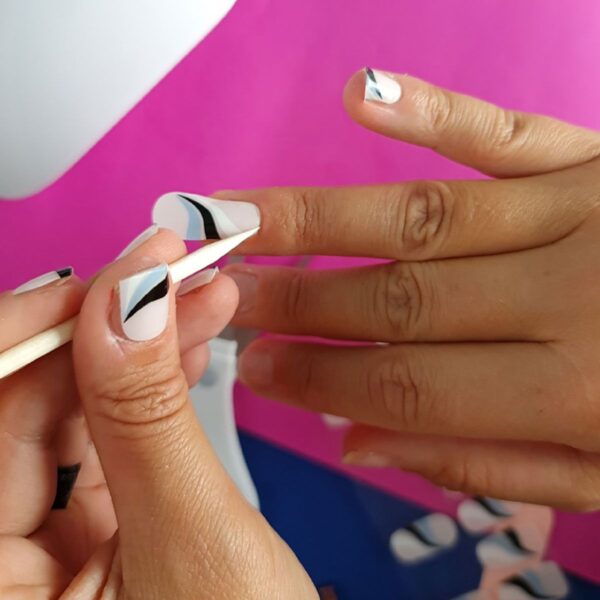
3. Attach the sticker firmly to the nail
Place the sticker on the nail. Press so that the sticker attaches properly. Go over all the edges with the included wooden match to make sure the sticker adheres to the entire nail surface.
If you think you have already attached the sticker, press it once more 🙂 It is extremely important that the edges are attached beautifully. Over time, the edge of the sticker may come off from the glue and, for example, hair may get stuck there. It's just uncomfortable.
4. Cut the remaining sticker with scissors
Cut the sticker that is left over the nail with scissors.
Wearers of smaller nails can use one sticker on two nails
Put the sticker back in the opaque package. You can keep them and use them one more time.
Cut the remaining sticker into a suitable shape and use it, for example, on the toes. You can get a manicure and pedicure at the same time 🙂
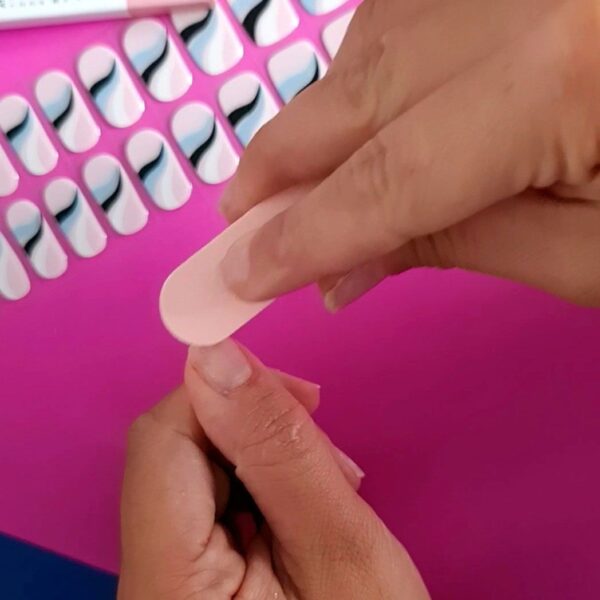
5. File and give a suitable shape
File sticker to fit the nail with the file included in the package.
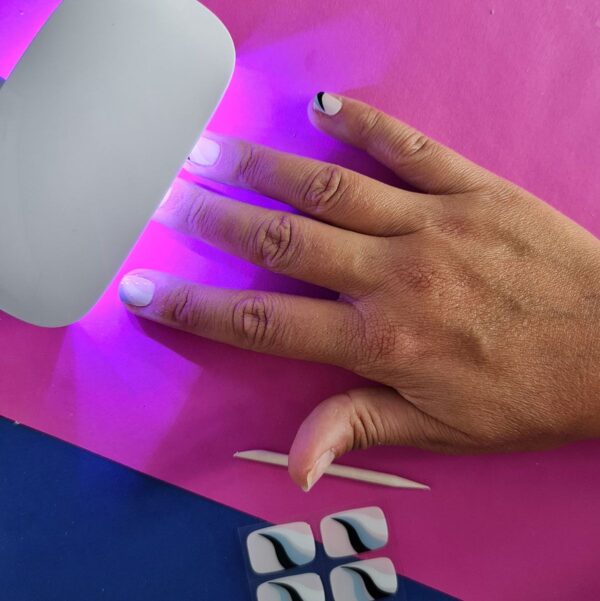
6. Place the nails under the UV lamp
Place your hands under a UV lamp for 60 seconds to set the gel polish stickers.
60 seconds are necessary, the ideal result is achieved in 90 seconds.
Place the dental floss at the edges of the nail and pull so that the dental floss “cuts” the glue on the sticker.
Look video
NB! Be sure not to remove the gel polish sticker by simply pulling it off the nail - this can damage the surface of the nail.
Scroll to Top
Have you already joined Stikily’s newsletter? We promise not to use your data maliciously or spam your mailbox. We will send you updates on new products, information about interesting campaigns, and more. And, of course, we will celebrate your birthday together 🎉